
This no-bake ladyfinger cream cake is a real crowd-pleaser — soft ladyfingers soaked in milk, covered in fluffy whipped cream, and dusted with cocoa for a touch of elegance. Best of all, there’s no oven required — in just about 15 minutes of prep and a few hours in the fridge, you’ll have a sophisticated dessert that tastes and looks gourmet.
It’s light, creamy, and perfect for hot days, last-minute celebrations, or a casual afternoon treat. Serve chilled and get ready for compliments.
How to whip the cream so it stays light and stable
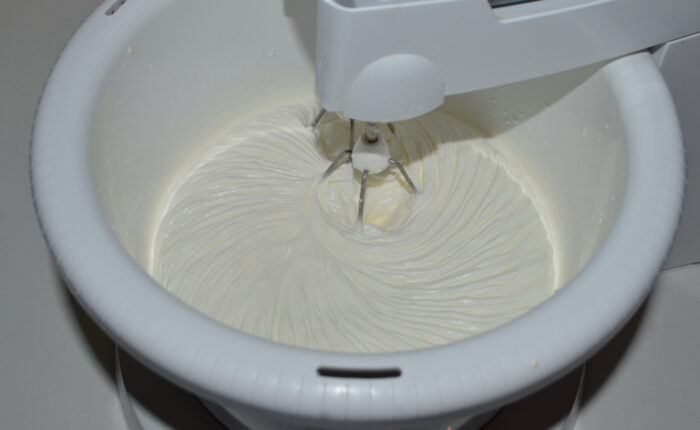
Whipping the cream correctly is the key step in this recipe, because the cream is what holds the cake together once it has chilled in the fridge. Start with very cold whipping cream and a chilled metal or glass bowl if possible, as low temperature helps the fat in the cream stabilize and trap air. Add the sugar and vanilla before you begin and then mix on medium high speed rather than maximum speed, which gives the cream time to build a fine, even structure. Watch the texture closely and stop as soon as you see soft to medium peaks that hold their shape when you lift the beaters. If you go too far, the cream may split and become grainy, which will not look smooth on the cake. Properly whipped cream should look shiny, thick and airy, but still spread easily with a spatula and not feel heavy or buttery.
How to soak ladyfingers in milk without turning them mushy
Ladyfinger cookies are very absorbent, so it is important to control how much milk they take in. Pour the milk into a shallow bowl or plate so you can quickly dip each biscuit without fully submerging it for a long time. Work with one or two ladyfingers at a time, turning them once in the milk and then lifting them out as soon as the surface feels slightly softened but the biscuit still holds its shape. If you leave them in the milk for too long, they will break apart when you move them to the dish and create a messy, uneven base. The goal is for the biscuits to continue softening slowly in the fridge as they absorb moisture from both the milk and the cream. This way, after a few hours of resting, the cake will slice cleanly and the layers will look neat, with biscuits that are tender but not completely dissolved.
Why chilling time is essential for this no bake dessert
Even though the active preparation time is very short, the cake needs several hours in the fridge to reach the perfect texture. During this chilling period, the ladyfingers continue to absorb moisture from the milk and cream, becoming soft and cake like rather than dry. At the same time, the whipped cream stabilizes and firms up, which helps the layers stay together when you remove portions from the dish. If you cut the dessert too early, the biscuits may still feel a bit dry in the center and the cream can slide, making messy slices. For best results, plan to refrigerate the cake for at least 5 to 6 hours, or overnight if you have time. The next day, you will notice that it cuts cleanly and the flavor feels more balanced, with all components blended together into a single creamy bite.
How to adapt the recipe with coffee or flavored milk
One of the easiest ways to change the character of this cake is to adjust the liquid used for soaking the ladyfingers. Instead of plain milk, you can prepare a light coffee milk by mixing brewed coffee with milk, which will instantly give the dessert a tiramisu inspired flavor. Another option is to use flavored milk, such as vanilla or chocolate, which adds a subtle twist without making the recipe more complicated. If you use a sweeter liquid, you may want to reduce the sugar in the cream slightly to keep the overall sweetness comfortable. You can also add a small amount of liqueur for adult versions, but remember to keep the total liquid amount similar so the biscuits do not become too wet
Ingredients
- 2 cups whipping cream 33%
- 1/2 cup sugar
- 1 tsp vanilla essence
- 24 ladyfinger cookies
- 2/3 cup milk for soaking
- cocoa powder for sprinkle
Instructions
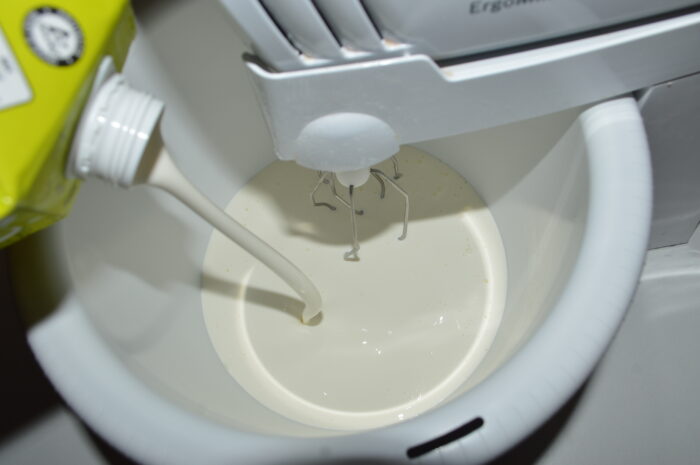
- Pour the 33% whipping cream into a bowl.

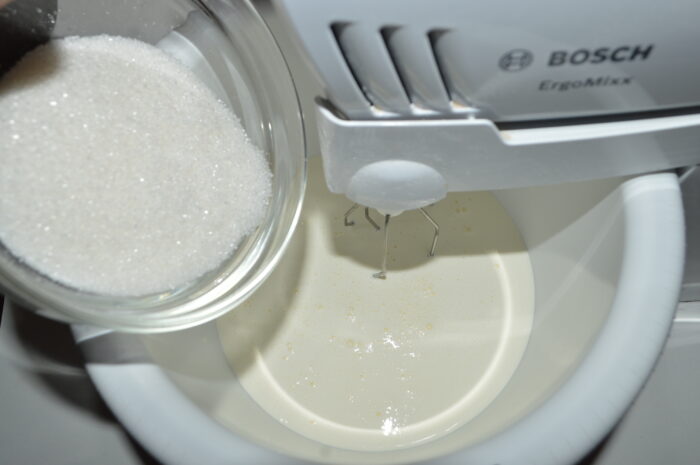
- Add sugar.
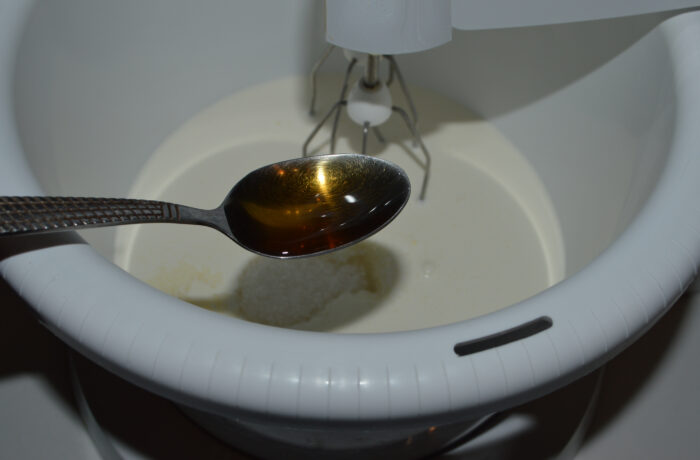
- Add the teaspoon of vanilla essence.

- Beat the mixture with a mixer on high speed for about 4 to 5 minutes, until the cream becomes thick and holds soft to medium peaks.

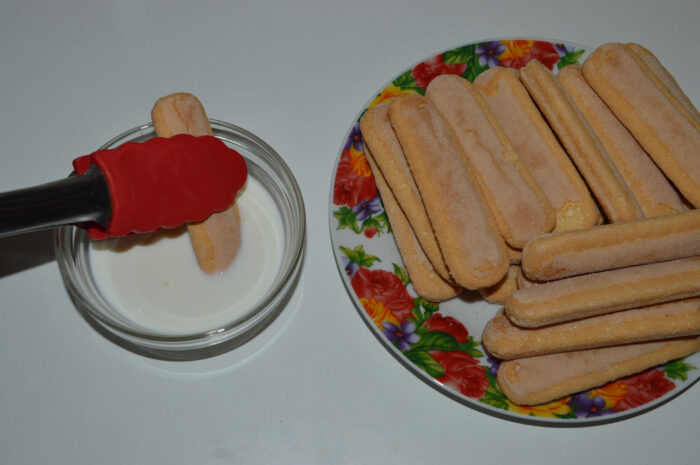
- Pour the milk into a shallow dish and quickly soak the ladyfingers in it, one by one, without letting them fall apart.
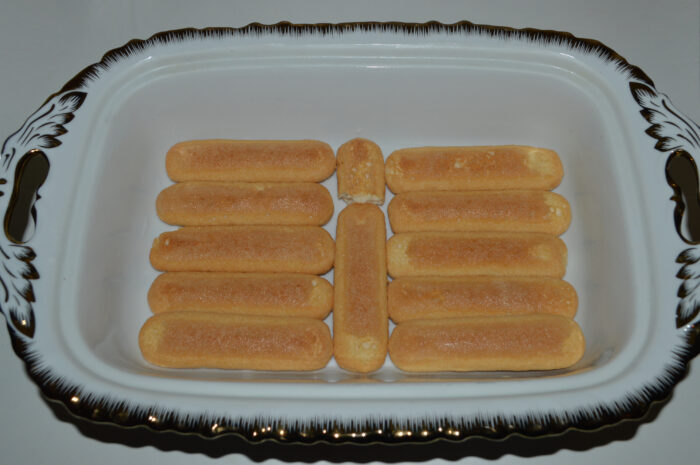
- Arrange the soaked ladyfingers in a single layer in a rectangular baking tray or dish.
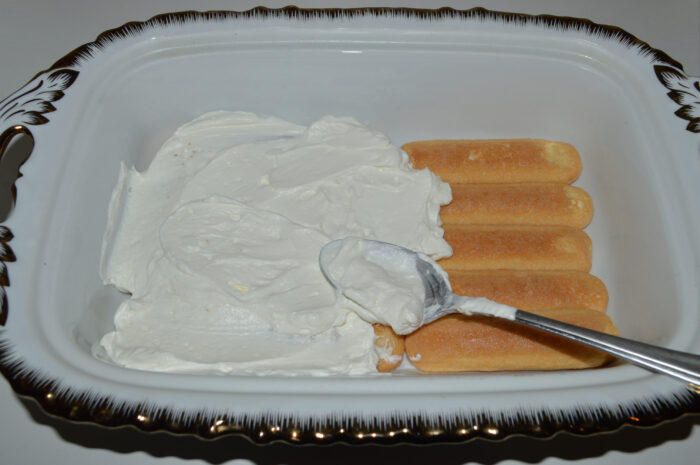
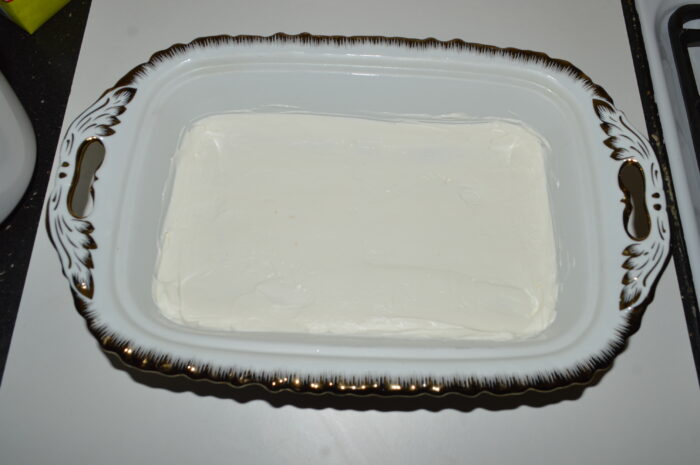
- Spread half of the whipped cream evenly over the first layer of ladyfingers.
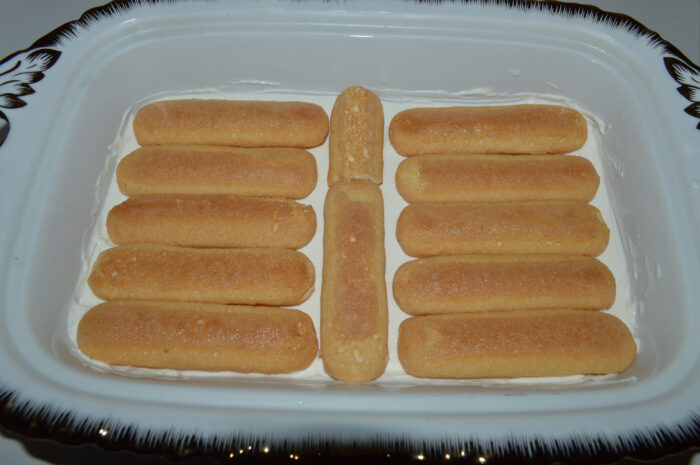
- Dip the remaining ladyfingers in milk and add a second layer over the cream.
- Spread the rest of the whipped cream on top and smooth the surface with a spatula or knife.
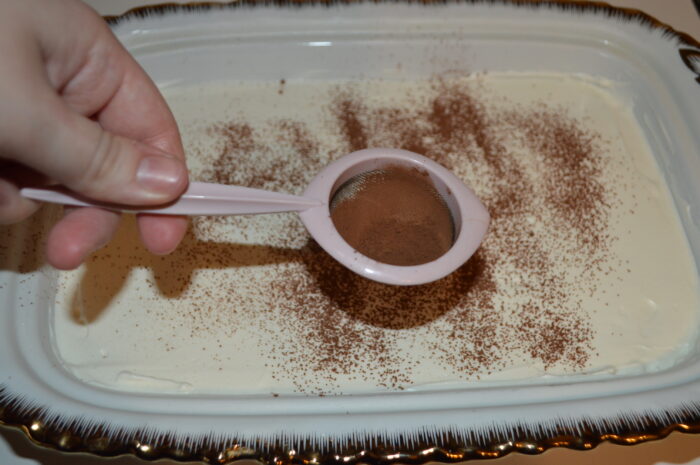
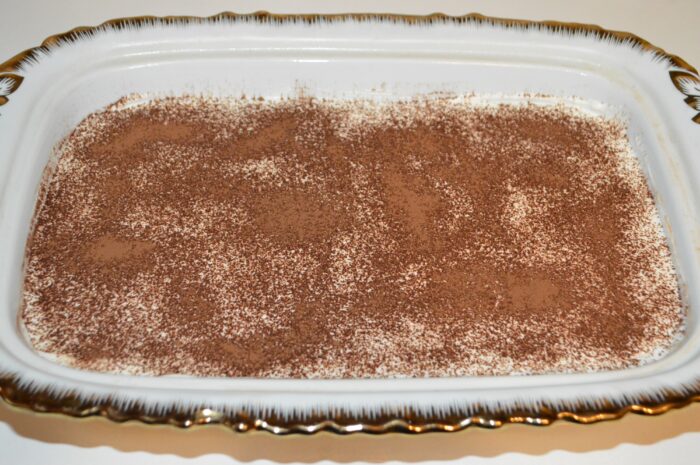
- Generously sprinkle cocoa powder over the top of the cake for decoration. If you like, you can also add grated chocolate, fruit, or other toppings.
- Cover the cake with plastic wrap and refrigerate it for 5 to 6 hours, or until the layers are well set and the biscuits are soft.
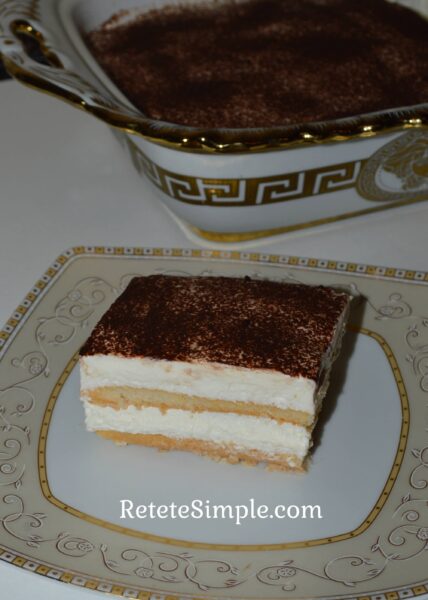
- Slice the ladyfinger cream cake and serve chilled. Enjoy.

Notes
- Use well chilled heavy cream with at least 30–33 percent fat so it whips quickly and stays stable in the fridge.
- Do not soak the ladyfingers for too long in milk – a quick dip is enough, otherwise they will fall apart and the layers will lose shape.
- Let the cake rest for at least 5–6 hours, or overnight for best texture; this time allows the cream to firm up and the biscuits to soften evenly.
- If you plan to keep the cake longer than 24 hours, cover it tightly so the cream does not absorb fridge smells and the cocoa on top does not dry out.
- For a lighter version, you can reduce the sugar slightly or replace part of the whipping cream with chilled Greek yogurt, but the texture will be a bit less rich.
Nutrition
Nutrition information is automatically calculated, so should only be used as an approximation.
FAQ
If you do not have ladyfingers, you can use plain tea biscuits or sponge cake slices, but they may soak up milk differently, so dip them quickly and adjust the amount of milk if needed.
You can store the cake covered in the fridge for up to 2 days. After that the biscuits become too soft and the whipped cream may start to release liquid.
Stop whipping as soon as the cream forms medium stiff peaks and looks smooth and glossy. If it starts to look grainy, gently fold in a few tablespoons of liquid cream by hand to bring it back.