
When cravings hit and you want something cold, creamy and totally natural, this Banana & Chocolate Ice Cream is your go-to. Banana and chocolate ice cream is the dessert I make on impulse right now, without any complications. All you need are ripe bananas, frozen, and dark cocoa—a simple duo, but with an intense flavor and creamy texture, without added sugar. I like to serve it immediately after blending, with the natural aroma of bananas bringing instant good cheer. Perfect for summer days or anytime you want a healthy sweet-fix.
This version of the dessert loved by many sweet lovers can be enjoyed by all those who, for various reasons, have to give up sugar, because the ice cream does not contain any sweeteners. It is quite simple to make this chocolate and banana ice cream at home. The most important thing is to have a blender handy.

How do we prepare and freeze the bananas correctly
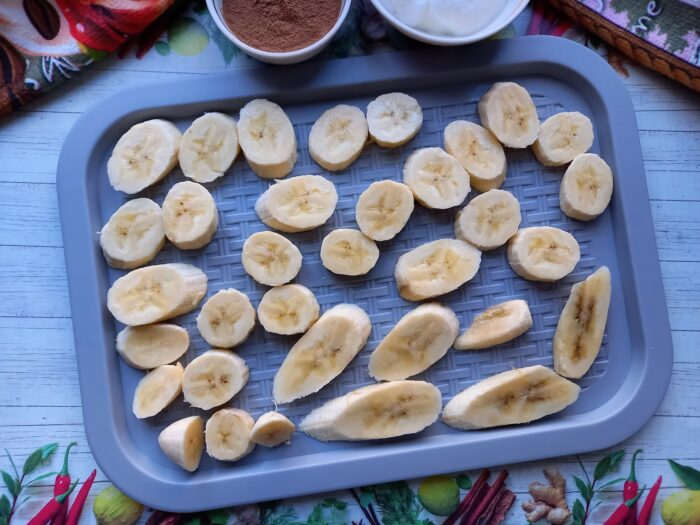
The way you prepare and freeze the bananas has a big impact on the final texture of the ice cream. Start by peeling the bananas and slicing them into thin, even rounds about half a centimeter thick. Thin slices freeze quickly and are much easier for the blender to process later. Arrange the slices in a single layer on a tray, cutting board or large plate lined with baking paper so they do not stick together. Place the tray in the freezer for at least one hour, until the banana slices are firm to the touch. Avoid throwing the banana pieces directly into a container in a big pile, because they will freeze into a solid block and the blades will struggle to break them. With properly frozen slices, the blender can transform the fruit into a smooth, creamy base that looks like soft serve ice cream.
Blending technique: how to get a creamy nice cream texture
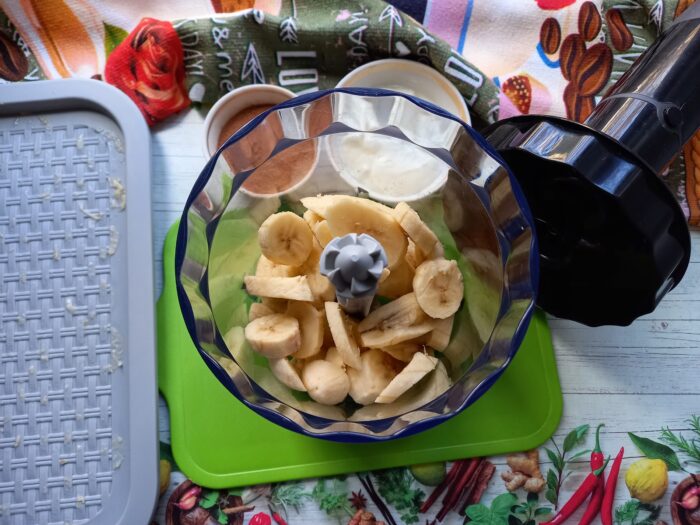
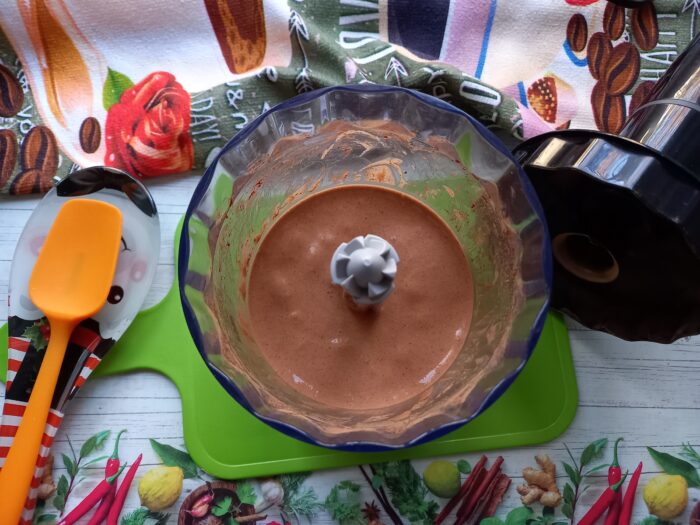
To obtain a creamy nice cream texture you need both well frozen bananas and a correct blending technique. Put the frozen banana slices into the blender or food processor and pulse several times until they break down into small pieces. At first the mixture will look crumbly, but as the bananas warm slightly from the movement of the blades they will start to emulsify. Scrape down the sides of the bowl whenever you see banana chunks stuck to the walls. Once the fruit looks like a thick puree you can add cocoa powder and yogurt. Blend again at high speed until everything becomes silky and uniform, with no visible pieces. If the blender struggles, add a spoon or two of yogurt to help it move, but avoid adding too much liquid or the ice cream will turn runny instead of staying thick.
How to adjust sweetness and chocolate intensity naturally
One of the advantages of this banana chocolate ice cream is that you can easily adjust both sweetness and chocolate flavor without refined sugar. The easiest way to make the dessert sweeter is to use very ripe bananas, because their natural sugar level is higher. If you still feel the ice cream is not sweet enough, you can add a small amount of mashed ripe banana or a teaspoon of honey, maple syrup or date paste, but keep in mind that this will change the “no added sugar” profile. For a stronger chocolate flavor, simply increase the amount of cocoa powder by half to one extra teaspoon, or use dark cocoa with a more intense aroma. A tiny pinch of salt makes the chocolate notes stand out even more, without adding calories or sugar. With these small adjustments you can customize the taste to match what your family likes.
Dairy free and vegan alternatives for this recipe
If you want to enjoy this dessert in a dairy free or vegan version, the recipe is easy to adapt. Instead of regular yogurt you can use coconut yogurt, which adds a subtle tropical note and keeps the texture rich and creamy. Another option is to replace the yogurt with a small amount of almond, oat or soy milk just to help the blender work smoothly. The bananas still play the main role in giving structure to the ice cream, so you do not lose creaminess. For a completely vegan result, check that the cocoa powder is plain and does not contain milk powder, and avoid any toppings based on dairy chocolate unless they are labeled vegan. This way you end up with a plant based dessert that fits many lifestyles but still feels indulgent and satisfying.
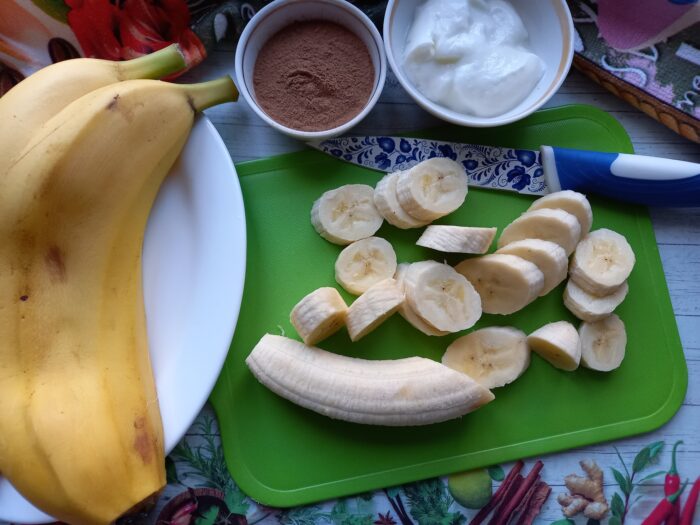
Ingredients
- 2 ripe banana
- 2 tsp cocoa powder
- natural yogurt without added flavorings (greek or plain yogurt, to taste)
Instructions
- Peel both bananas. Cut the delicate flesh of the fruit into 0.5 cm thick slices.

- Arrange them on a platter (on a cutting board or large plate) in a single layer and place in the freezer for 1-1.5 hours.
- Place the frozen banana slices in the blender bowl and blend until you obtain a puree consistency. To prevent the bananas from turning brown, you can add a little fresh lemon juice.
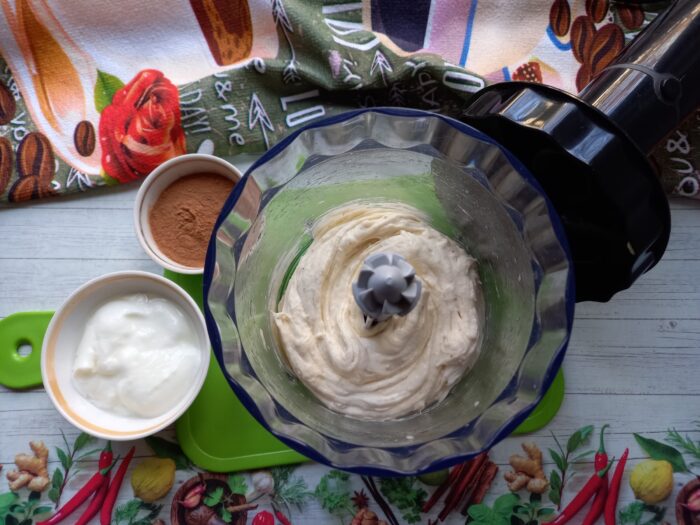
- Add the yogurt and cocoa powder to the delicate banana mixture. Mix again at high speed. In principle, instead of cocoa powder, you can use milk chocolate or dark chocolate, which is melted in a small amount of milk (or cream), then beaten with the bananas and yogurt.
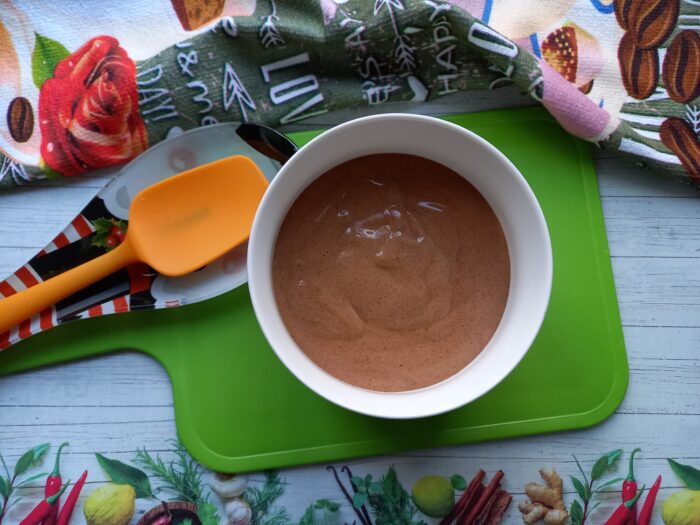
- Finally, we will obtain a delicate, sticky, chocolate-colored mass.
- Transfer to a bowl (or container) and place in the freezer for 2-4 hours. Of course, it can also be eaten in this form. However, since ice cream should be cold, freeze the mixture.
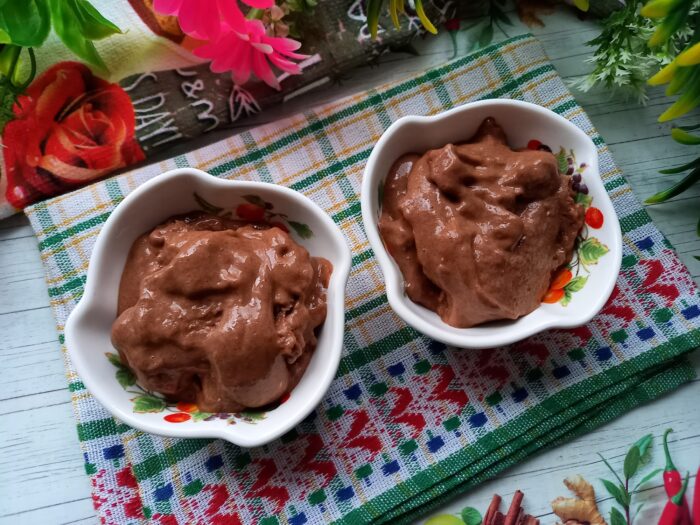
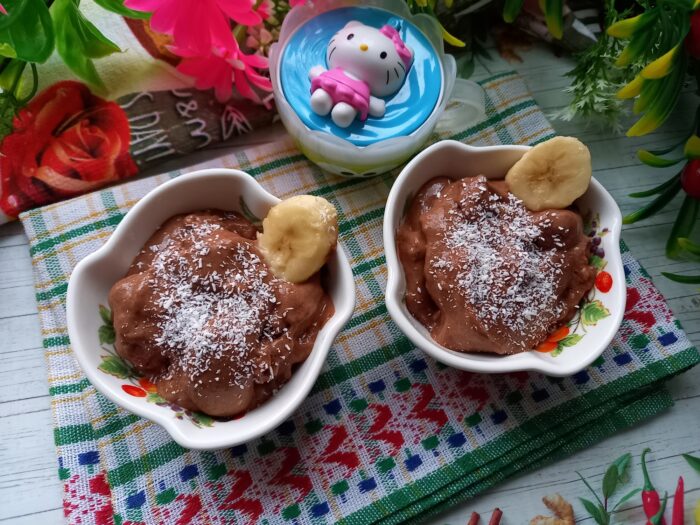
- Only then will we divide it into small bowls and serve it at the table, garnished with coconut flakes, walnut kernels, and banana slices.
- Our homemade ice cream has a beautiful color and an intense banana and chocolate flavor.
Notes
- Use very ripe bananas with brown spots, as they are sweeter and give the ice cream better flavor and creamier texture.
- Slice the bananas thinly before freezing so they blend faster and you do not overheat the blender. If needed, add 1–2 tbsp yogurt or milk to help the blades.
- For a more intense chocolate taste, use high quality unsweetened cocoa powder and a pinch of salt to boost the flavor.
- If you prefer a dairy free version, replace the yogurt with coconut yogurt or a splash of plant based milk; the texture will still be creamy.
- Serve the ice cream immediately for a soft serve consistency, or freeze it for 2–4 hours and let it sit at room temperature for 5–10 minutes before scooping.
Nutrition
Nutrition information is automatically calculated, so should only be used as an approximation.
FAQ
No, you do not need an ice cream maker at all. A regular blender or food processor is enough; you just blend the frozen banana slices with cocoa and yogurt until the texture looks like soft ice cream.
For the best texture and flavor, try to enjoy it within 2–3 days. After that it can form more ice crystals, so let it soften a bit at room temperature and blend again quickly if you want a smoother texture.