
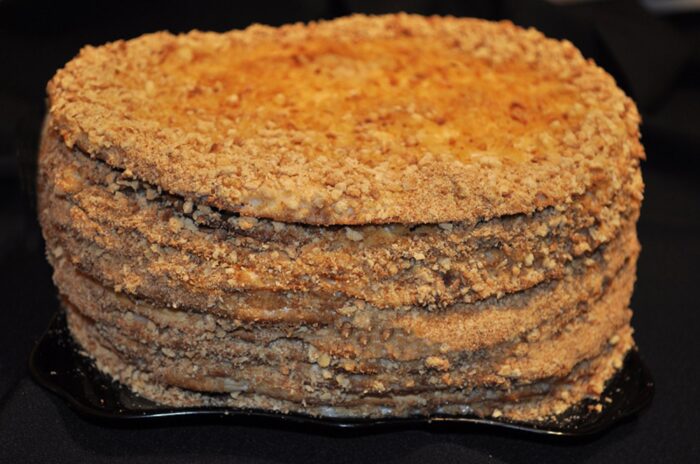
Medovik honey cake is a beloved dessert from Russia, made of many thin honey-infused layers and soft sour cream filling. Over time, the creamy filling seeps into the layers, transforming them into a tender, melt-in-your-mouth cake. It shines at celebrations or when you want a dessert that feels special. The subtle sweetness of honey and the gentle tang of cream make it unforgettable.
Medovik cake can be made at home. It will turn out much tastier than what is sold in stores. Its taste will be much better because all the ingredients are homemade and of high quality.
For the cake, you will need the following ingredients (the cake will weigh 2.5 kilograms):

How do we prepare the honey dough for the cake layers
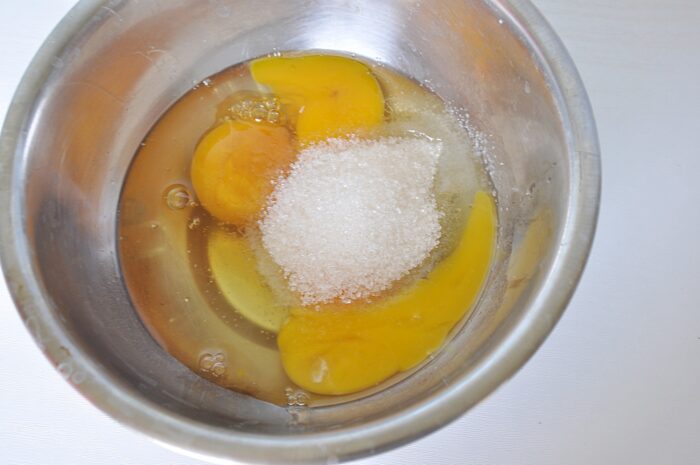
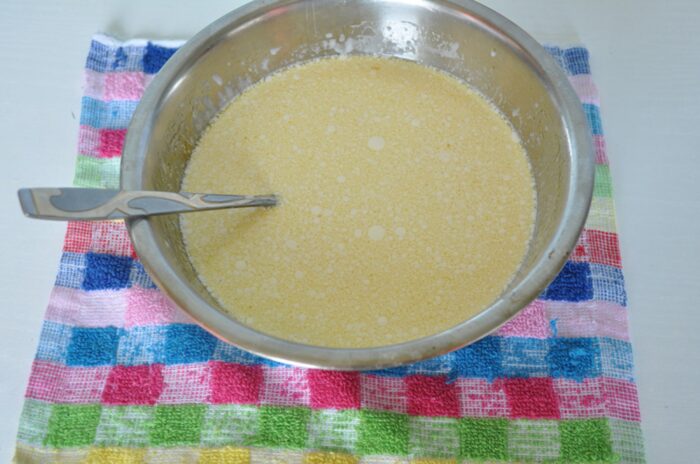
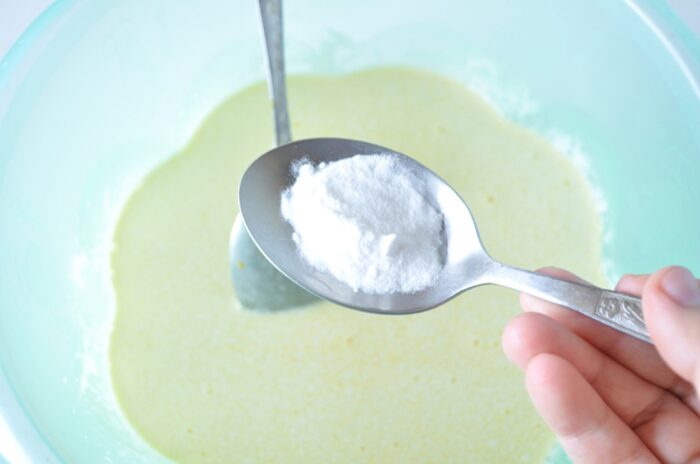
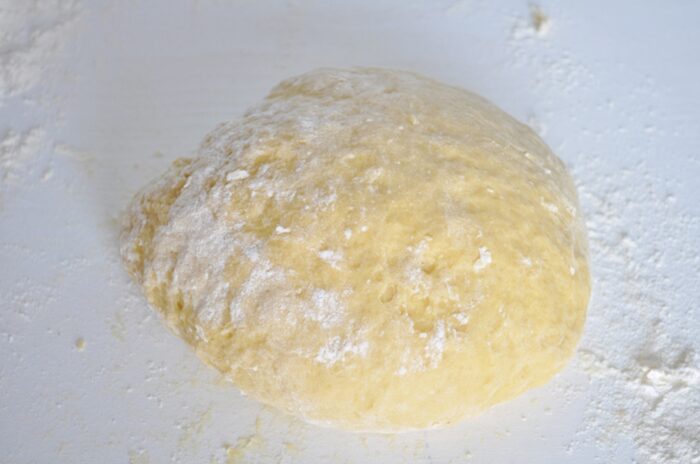
The dough for Medovik is prepared on the stove, which gives the cake its deep caramel honey flavor. You start by whisking the eggs with sugar until they are well combined, then add honey and butter to the same bowl. Placing the bowl over low heat or a double boiler lets the sugar dissolve and the butter melt gently without scrambling the eggs. Once the mixture is smooth and warm, you stir in baking soda that has been neutralized with a little vinegar; at this stage the batter will foam slightly and turn a richer color. The last step is to sift in the flour and mix until you get a soft, elastic dough that does not stick too much to your hands. This warm dough is easy to work with and can be divided into portions for rolling out thin layers.
Rolling and cutting thin honey layers for Medovik
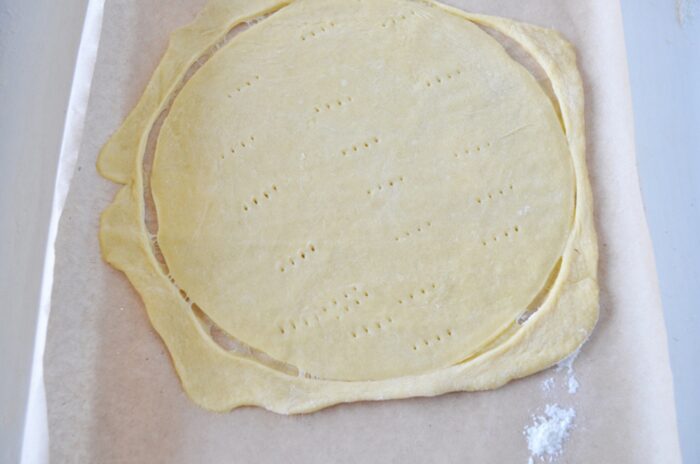
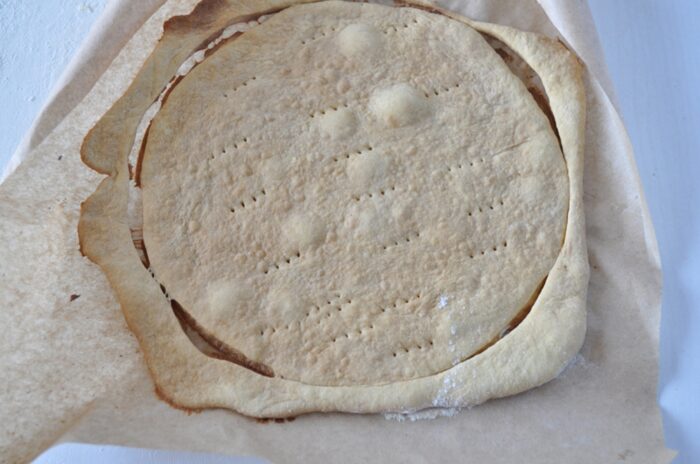
A big part of Medovik’s charm comes from its many thin, even layers, so it is worth taking a few minutes to shape them carefully. Each piece of dough is rolled out directly on parchment paper so it does not stick to the table and can be transferred to the baking tray without distortion. To get a perfect round shape, you place a regular plate on top of the rolled dough and cut around it with a pizza cutter or sharp knife, then remove the excess dough. Pricking the surface several times with a fork keeps the layer flat in the oven and prevents big bubbles from forming. The scraps that remain after trimming should be baked as well, since they are later ground into crumbs for coating the outside of the cake. With this method all the layers look uniform and stack neatly into a tall, attractive dessert.
Baking the honey layers to the right texture
Because the honey layers are rolled out very thin, they bake quickly, so it is important not to walk away from the oven. You preheat to 180°C (350°F) and bake each circle on parchment for about 8 minutes, just until the edges start to turn light golden but the center is still fairly pale. If you bake them too long, the layers will become hard and brittle, which makes the cake difficult to slice and slows down the softening process. It is helpful to roll out the next piece of dough while one layer is baking, so you keep a steady rhythm and finish all the layers faster. The baked circles should cool on a rack or flat surface so they keep their shape, and any overbrowned edges can be trimmed and added to the crumbs. Once all layers are baked and cooled, you are ready to prepare the cream and assemble the Medovik.
How to prepare the sour cream filling for Medovik
The filling for Medovik is surprisingly simple, but it is responsible for the cake’s signature tang and soft texture. All you need to do is combine sour cream and sugar in a bowl and beat the mixture until the sugar is fully dissolved. This may take a few minutes, especially if you use regular granulated sugar, but it is important so the cream does not feel grainy between the layers. The result should be a smooth, slightly thick cream that holds on the spoon but is still easy to spread. If you like a lighter texture, you can fold in a little whipped cream, but it is not necessary for this version. What matters most is that you use full‑fat sour cream, because low‑fat alternatives are too watery and can make the cake soggy instead of creamy.
Assembling the Medovik honey cake like a layer cake
Assembling Medovik is a relaxing step where you see the cake take shape layer by layer. Place the first honey circle on a serving plate or cake board and spread a generous amount of sour cream filling on top, going all the way to the edges. Repeat with the remaining layers, stacking them neatly and pressing lightly so any air pockets disappear and the cream distributes evenly. It is important not to be shy with the filling, because the cream is what softens the layers and creates that melt‑in‑your‑mouth feel. Once you reach the top, use the rest of the cream to cover the sides and smooth out the surface with a spatula. At this point the cake may look a bit rustic, but that is completely fine because the crumb coating will finish the look.
Why resting time in the fridge is crucial
Medovik is one of those cakes that rewards patience, because time in the fridge completely transforms its texture. Right after assembly the layers still feel slightly firm and the flavors have not fully blended. As the cake rests, the sour cream filling slowly seeps into each thin honey layer, softening them and binding everything into a single, cohesive structure. This process usually takes at least 8–12 hours, and many bakers prefer to leave the cake overnight or even until the next day. During this time the honey flavor deepens, the tanginess of the sour cream balances the sweetness and slicing becomes much easier because the knife glides smoothly through the stacked layers. Serving the cake too early is one of the most common reasons people think their Medovik turned out dry.
Serving suggestions and storage tips
Medovik is best served chilled, when the layers are fully softened and the cream has had time to set. Use a sharp, thin knife and clean the blade between slices to keep the layered structure neat on each plate. The cake pairs very well with unsweetened tea or coffee, which balance its sweetness and richness. Leftovers should be stored covered in the fridge, where the cake will stay fresh for several days and often tastes even better after the first day. If you want to prepare for a special event, you can bake the layers in advance, freeze them and assemble the cake the day before serving for maximum convenience.
Ingredients
For the cake layers:
- 4 eggs
- 4 tbsp honey
- 3/4 cup sugar
- 7/8 cup butter
- 2 tsp baking soda
- 6 cups flour
For the cream:
- 2 packs sour cream 20%
- 1 cup sugar
Instructions
- Break the eggs into a large bowl and add sugar to them.

- Stir the mixture.

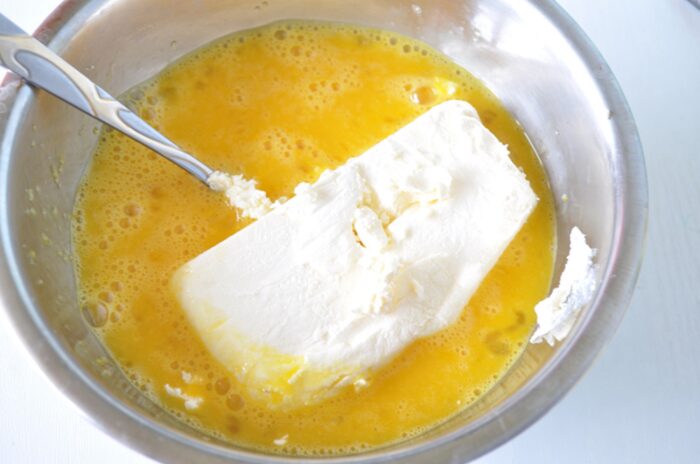
- Then add honey and butter.
- Place the mixture over low heat or in a double boiler and melt the ingredients. I thought my bowl was too small, so I poured the batter into a larger bowl.
- Add baking soda (neutralized with vinegar).
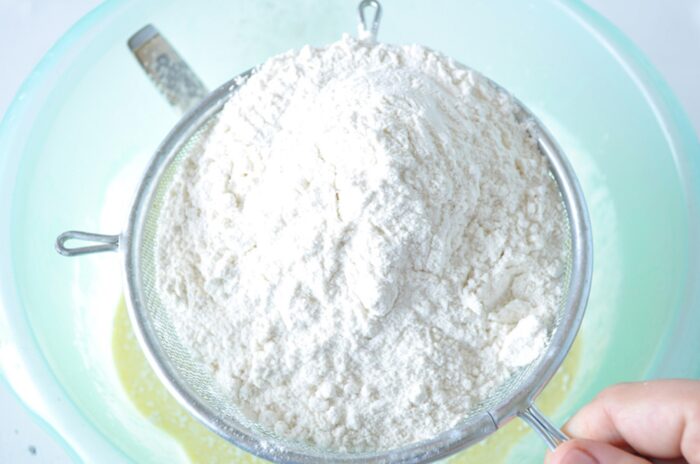
- Pour the flour into a sieve and sift it into the mixture.
- Knead the dough.
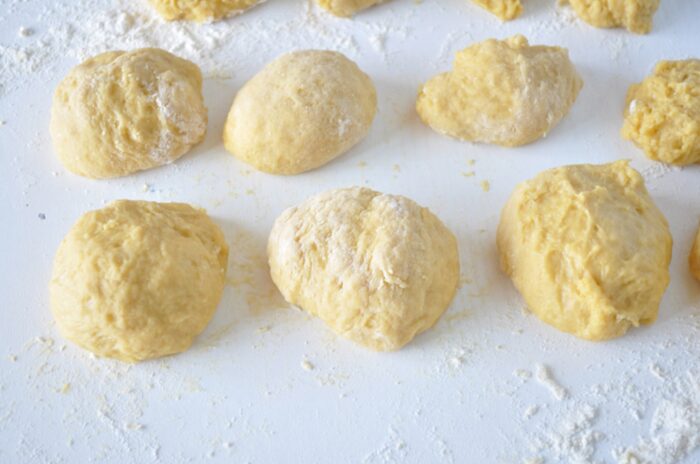
- Portion the dough into pieces.
- Turn on the oven and preheat it to 180°C (350°F).
- Place a piece of dough on parchment paper and roll it out with a rolling pin. Place a regular plate on top. Cut a circle using a pizza cutter. Then use a fork to prick it.
- Place the rolled-out dough circle in the oven for 8 minutes. This is how we will bake all the cakes.
- Combine the sour cream and sugar in a bowl. Beat the mixture thoroughly until the sugar is completely dissolved. Spread the sour cream generously on the finished cake layers.
- Place the cake scraps in the bowl of a blender and grind them into crumbs. Sprinkle the crumbs over the top and sides of the cake. The Medovik cake is ready!


Notes
- For the best texture, bake the layers thin and do not overbake them; they should stay soft and only lightly golden on the edges.
- Let the honey mixture cool slightly before adding baking soda so it activates gently without burning or turning bitter.
- Chill the assembled cake for at least 8–12 hours, ideally overnight, so the sour cream filling can fully soften the layers.
- If the dough feels too sticky, add a little more flour, but keep it as soft as possible so the baked layers do not turn hard.
- Use the baked scraps for fine crumbs and press them well onto the top and sides of the cake; they help seal in moisture and give a beautiful finish.
Nutrition
Nutrition information is automatically calculated, so should only be used as an approximation.